To manage zones
You can group your units to make the cloud set-up correspond to your real configuration. In order to do that, Daikin Cloud Service uses zones.
1 | In the navigation pane, select under . |
- Result: The current zones of the selected site are displayed.
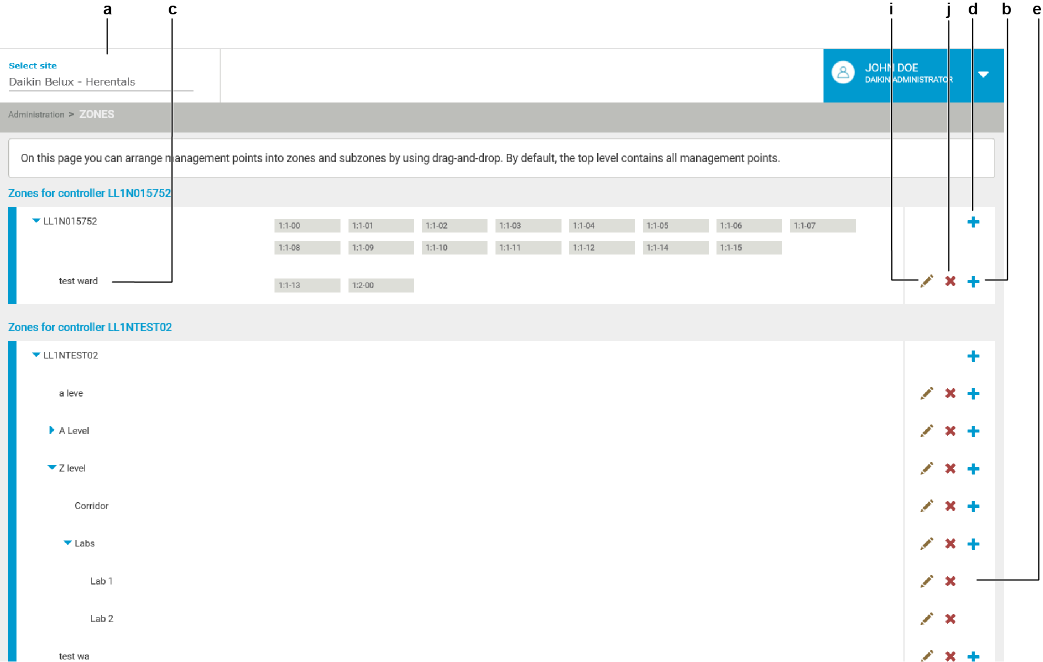
2 | From the site selector, select the site (a) for which you want to manage the zones. |
3 | Click the blue plus button (b) if you want to add a new zone to an existing zone (c), or on site level (d). |
- Result: A field appears, allowing you to enter the zone name.
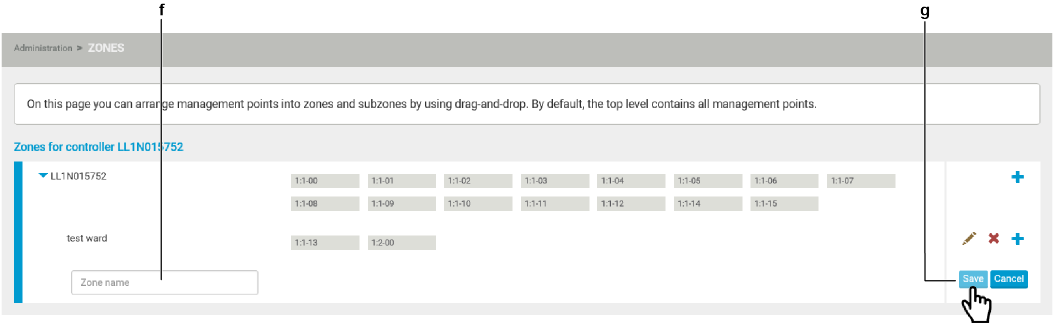
4 | Fill out the zone name (f) and click (g). |
You can only create up to 3 zone levels. That is why there is no blue plus button on the lowest level in the screenshot (e).
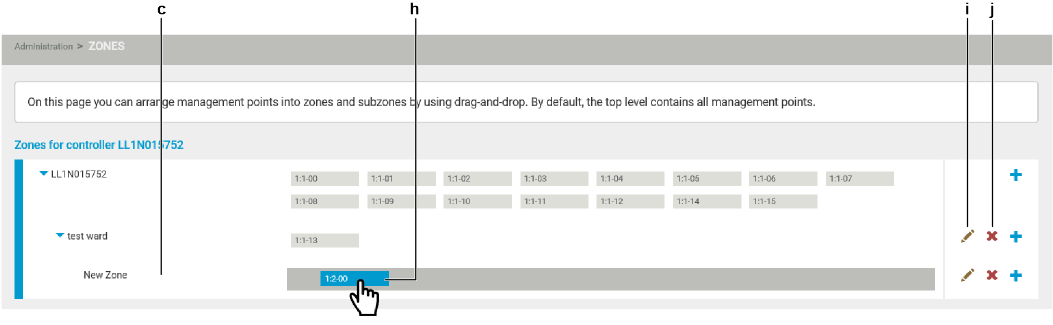
5 | Drag and drop units (h) to the correct zone (c). |
6 | Click the pencil icon (i) to edit a zone. This will only allow you to edit the name of the zone. |
7 | Click the red cross icon (j) to delete a zone. If you delete a zone containing units, they are moved to the top level. |
